You’ve watched a SeedSigner build video, priced the parts at around $50, and started wondering why anyone spends $200 on a Ledger. Fair question. This post answers it straight, from a New Zealand point of view, without trying to scare you off.
How to make a crypto hardware wallet, in one paragraph
Yes, you can build your own. A small, mostly Bitcoin-focused community has been doing it for years, and the parts really do cost about $50. The catch is everything that isn’t on the parts list: the hours, the learning curve, and the fact that you alone are responsible for getting the security right. The rest of this guide is about that gap.
Can you actually make your own crypto hardware wallet?
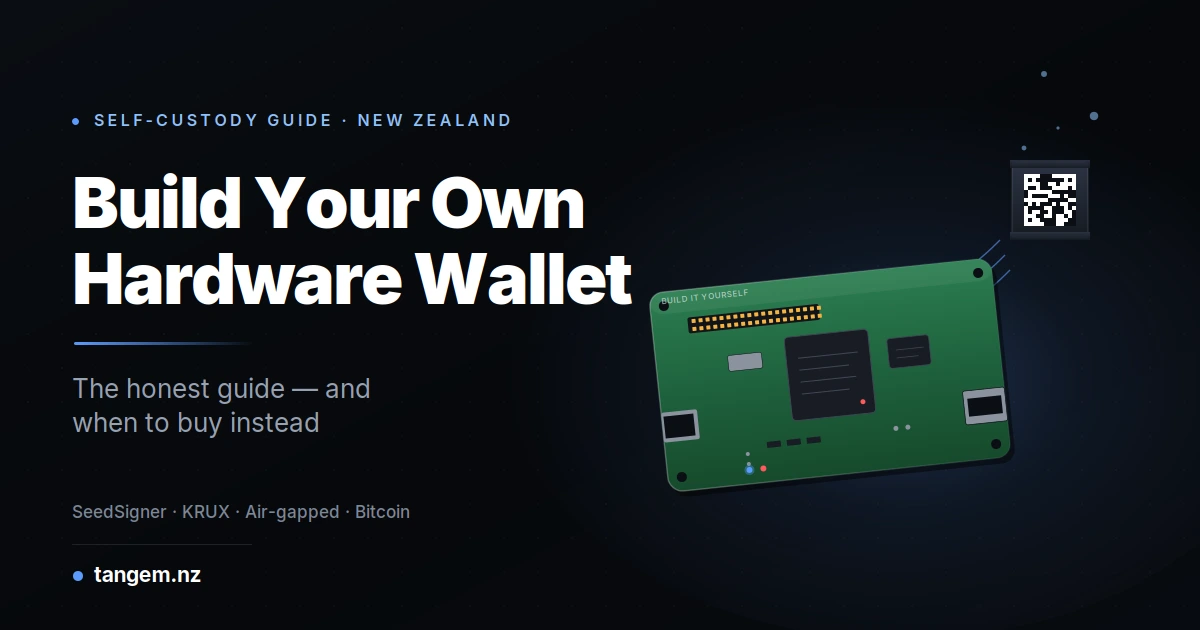
You can. DIY hardware wallets are a real category with a small but committed following. The two established projects are SeedSigner and KRUX. Both are open source and Bitcoin-focused, and both expect you to source the parts, put the hardware together and verify the software yourself.
You aren’t inventing anything. You’re assembling a documented project that runs cryptographic firmware on a general-purpose board (a Raspberry Pi Zero for SeedSigner, a K210 chip for KRUX). The project handles the hard maths. You handle the build and the discipline around using it.
Air-gapped signers and full hardware wallets
Most DIY projects are air-gapped signers rather than full hardware wallets. The difference matters.
- Air-gapped signers (SeedSigner, KRUX) never touch a network. Unsigned transactions go in and signed ones come out by QR code or SD card. The design is simple and the attack surface is small, but daily use is slower.
- Full hardware wallets (Ledger, Trezor, Tangem) connect over USB, Bluetooth or NFC. They’re more convenient and you trust the maker’s firmware and secure chip.
DIY builds almost always land in the first group, because security is much easier to reason about when the device physically can’t talk to a network.
The three real DIY hardware wallet options
Three projects are worth naming. Anything else you find is abandoned, experimental or a fork of one of these.
SeedSigner
The most popular option. It runs on a Raspberry Pi Zero 2 W with a small Waveshare display and button board.
- Parts: NZ$50 to NZ$90, depending on where you buy
- Coins: Bitcoin only
- Interface: QR codes in and out, fully air-gapped
- Suits: Bitcoin holders who want cold storage on hardware they built and can inspect
Development is active and the build guides are good.
KRUX
Same idea, different hardware. KRUX runs on M5StickV or M5Stack devices built around the Kendryte K210 microcontroller.
- Parts: NZ$50 to NZ$100
- Coins: Bitcoin, with some experimental support for other chains
- Interface: QR codes, air-gapped
- Suits: people who want something smaller and would rather not use a Raspberry Pi
It is open source and actively maintained too, with more of a focus on portability.
DIY Trezor One clones (we wouldn’t)
The Trezor One hardware and firmware designs are open source, so clone builds do circulate. We’d steer clear, for three reasons:
- Getting genuine STM32 microcontrollers with a clean supply chain is hard.
- You can’t easily tell whether a build runs the audited Trezor firmware or a modified copy, unless you have deep expertise.
- The Trezor One design dates from 2014, has no secure element, and is considered weak by current standards anyway.
If you’re going DIY, use SeedSigner or KRUX.
What building your own actually costs
Most DIY guides stop at NZ$50 to NZ$100 in components. The bigger cost is 10 to 40 hours of building, verifying and learning, plus the ongoing effort of looking after a device you made rather than one that just works.
At $50 an hour, that time is worth $500 to $2,000, which is more than any commercial hardware wallet. So DIY only makes financial sense if you enjoy the learning, care about running cold storage you built yourself, or are happy to treat it as a hobby.
The security trade-offs nobody mentions
A DIY wallet puts all of the security responsibility on you. Commercial wallets are audited (Ledger by its in-house Donjon team, Trezor through public review, Tangem by Kudelski Security and Riscure) and most use dedicated secure element chips. DIY builds have neither. Some people are fine with that trade. For most, it goes badly.
Where DIY genuinely helps
- Supply-chain tampering. You bought the parts yourself, so nobody swapped a chip between the factory and your door.
- “Evil maid” attacks. An air-gapped signer isn’t a laptop with a compromised bootloader.
- Company risk. No manufacturer can be hacked, raided or shut down out from under you. The code is yours.
Where it doesn’t help, or makes things worse
- Your own mistakes. There’s no support desk, no recovery service and no undo.
- Phishing and social engineering. No hardware wallet saves you if you’re talked into signing a malicious transaction.
- Theft. A stolen SeedSigner with the seed phrase written on paper beside it is as compromised as any other stolen wallet.
- Firmware you didn’t audit. SeedSigner is well reviewed in public, but you are the one vouching that nothing malicious slipped into your copy. If you can’t read Python, you’re trusting reviewers you’ve never met.
- Weak randomness. Commercial wallets use certified hardware random number generators. DIY builds rely on dice rolls or camera noise, and both need careful technique.
How to build a SeedSigner, step by step
If you’ve weighed all that and still want to build one, this is the process in eight steps.
- Order the parts. Raspberry Pi Zero 2 W, Waveshare 1.3″ display and button hat, and a MicroSD card. Expect NZ$50 to NZ$90 from PBTech or RS Components, or less from AliExpress if you can live with the wait and the customs risk.
- Assemble the hardware. Solder the header, fit the button hat and display. Allow 30 to 90 minutes if you’ve soldered before, longer if you haven’t.
- Download and verify SeedSigner OS. Get the latest release from GitHub and check its PGP signature against the developer’s public key. Skip this and you’re trusting whichever server handed you the file.
- Flash the SD card. Write the image with Raspberry Pi Imager or Balena Etcher.
- Boot and generate entropy. Roll dice or use the camera-based option to create your seed, and follow the project’s guidance on doing it properly.
- Record the seed. Write the 12 or 24 words on paper, or stamp them into metal for long-term storage, and keep two copies in different places. Those words are the actual key. The device is only an interface.
- Pair with a coordinator app. Sparrow Wallet (desktop) or Nunchuk (mobile) both work with SeedSigner by QR code. The coordinator builds unsigned transactions and SeedSigner signs them.
- Send a test transaction. Move a few dollars of BTC to yourself, sign it and broadcast it through the coordinator. If that goes through cleanly, you’re set up.
Don’t skip step 8. It’s the only way to know the whole chain works before you move real money.
When a commercial hardware wallet makes more sense
Most people are better off buying. DIY suits a fairly narrow group.
Build one if you hold only (or almost only) Bitcoin, you’re comfortable with soldering, the command line and PGP verification, and you see it as a learning project as much as a security tool. Wanting a wallet you inspected end to end is a perfectly good reason too.
Buy one if any of these apply:
- You aren’t especially technical.
- You hold more than a few thousand dollars, at which point the price of a commercial wallet is a rounding error.
- You hold coins other than Bitcoin. SeedSigner and KRUX are Bitcoin-only.
- You want a warranty, replacement devices or someone to ask for help.
- Losing the funds to a mistake would genuinely hurt.
The option most DIYers overlook
Some newer commercial wallets don’t need a seed phrase at all. Tangem generates the key inside a certified secure element and copies it to backup cards (or a ring) over an encrypted connection during setup. A written phrase is optional.
That means nothing to write down, nothing to lose and nothing for anyone else to find. Lose a card, tap the backup and carry on. You can’t copy this design at home, because it depends on certified secure element chips (EAL6+ in Tangem’s case) that aren’t sold to hobbyists.
It’s worth knowing before you start a build. The seed phrase is the weakest part of most self-custody setups, and some commercial wallets have already designed it out.
DIY and commercial wallets compared
| Wallet | Parts / Purchase Cost | Coins Supported | Recovery Model | Audited By | Best For |
|---|---|---|---|---|---|
| SeedSigner (DIY) | NZ$50 to $90 in parts | Bitcoin only | Written seed phrase | Community review | Bitcoin holders who enjoy building |
| KRUX (DIY) | NZ$50 to $100 in parts | Bitcoin | Written seed phrase | Community review | DIY builders who want a smaller device |
| Ledger Nano X | About NZ$250 | Bitcoin and 5,000+ altcoins | Written seed phrase | Ledger Donjon | Multi-coin holders |
| Trezor Safe 3 | About NZ$120 | Bitcoin and wide altcoin support | Written seed phrase | Public review | Open-source fans who want a finished product |
| Tangem | NZ$109.99 to NZ$139.99 | 90+ networks, 16,000+ tokens | Backup cards, seed phrase optional | Kudelski Security and Riscure | Anyone who wants rid of the seed phrase problem |
None of these is the right answer for everyone. Pick based on what you hold, how technical you are and how you want to recover if something goes wrong.
Things specific to New Zealand
Three things are worth knowing here: CARF reporting starting in April 2026, how Inland Revenue treats crypto, and where you buy your parts or wallet.
Importing parts or wallets
Small electronics imports under NZ$1,000 (CIF value) generally clear without GST if the overseas seller isn’t GST-registered in New Zealand. Above that, or when the seller charges GST at checkout, expect the standard 15%. Commercial wallets ordered from overseas usually arrive without fuss, though whole build kits are occasionally pulled aside for inspection.
If you’re buying a commercial wallet, getting it from an authorised NZ retailer matters more than it does for most electronics. Marketplace resales and grey imports can arrive pre-activated, with keys someone else already knows. That is a real, documented scam in this category.
IRD record-keeping for self-custody
Inland Revenue treats crypto as property, and holding it yourself doesn’t change your tax position. Moving crypto between wallets you control isn’t a disposal, so building a wallet and moving funds onto it isn’t taxable. Selling, swapping or spending it can be.
For every disposal, keep the date, asset, amount, NZD value, wallet addresses and fees for at least seven years. Our NZ crypto tax guide goes into more detail. This is general information, not tax advice.
FAQs
Is it legal to make my own crypto hardware wallet in NZ?
Yes. No law restricts how you store your own private keys, and DIY and commercial wallets are equally legal.
How much does it cost to build one?
About NZ$50 to $100 in parts, plus 10 to 40 hours for the build, the software checks and the learning curve. Count your time honestly and DIY isn’t cheaper than buying. It’s just different.
Is SeedSigner as secure as a commercial hardware wallet?
It’s a different model, so a straight comparison doesn’t work. SeedSigner has a small attack surface (air-gapped, minimal software), but you verify the firmware and generate the entropy yourself. Commercial wallets are audited by security firms and most use certified secure chips. Either can be secure, and either can fail if used carelessly.
Can I turn an old phone into a hardware wallet?
Not really. A phone that has been online can’t be trusted as cold storage without thorough wiping and checking, which is hard to do properly. If you want an air-gapped signer, use hardware built for it.
Do I need programming skills to build a SeedSigner?
No, but you need basic technical confidence. You’ll solder a few components, verify PGP signatures and follow build guides closely. Being able to troubleshoot when something doesn’t boot helps a lot.
What’s the cheapest legitimate hardware wallet in NZ?
Commercial wallets start around NZ$110: a Tangem 2-card set is NZ$109.99, and a discounted Trezor Safe 3 is in the same range. DIY parts run NZ$50 to $100. If price is all that matters and your time is free, DIY is slightly cheaper. Otherwise, buying wins.
If you decide to buy, the Tangem Wallet is available from Tangem NZ, the authorised New Zealand seller, with shipping from Auckland.