If your crypto is sitting on an exchange and that bothers you, it should. To transfer crypto from an exchange to a cold wallet in NZ you need three things: a hardware wallet such as Tangem, the receiving address from your wallet app, and about ten careful minutes. This guide covers the exact process, including the small test transaction that stops the mistakes that actually cost people money.
New Zealand has already learned why this matters, so we’ll start there.
Why move crypto from an exchange to a cold wallet
Crypto held on an exchange is controlled by the exchange, legally and in practice. If the platform is hacked, freezes withdrawals or goes into liquidation, your balance becomes a claim in an insolvency process rather than money you can spend. When you transfer crypto from an exchange to a cold wallet, the private keys, and control of the funds, come back to you.
New Zealand has its own cautionary tale. In January 2019 the Christchurch exchange Cryptopia was hacked and lost an estimated NZ$24 million in customer crypto. It never recovered and went into liquidation, and account holders spent years waiting on court proceedings for partial returns. You can follow the case on the official Grant Thornton Cryptopia liquidation page.
The lesson wasn’t to avoid crypto. It was the oldest rule in the space: not your keys, not your coins. An exchange account is an IOU. A cold wallet is ownership.
Exchanges still have a job to do, since they’re how most people get in and out. A sensible split for most NZ holders:
- Exchange: buying, selling and short-term trading amounts only
- Cold wallet: anything you plan to hold for more than a few weeks
What you need before you start
Have these four things sorted before you move anything:
- A Tangem Wallet set. The 2-card set (NZ$109.99) or 3-card set (NZ$139.99), also sold in colourways such as Classic Black. The third card gives you an extra backup in case one goes missing. If yours isn’t set up yet, our 5-minute setup guide covers activation and backup.
- The Tangem app on your phone (iOS or Android), with your cards activated and an access code set.
- Verified withdrawal access on your exchange. Most NZ-facing exchanges require identity verification, and some put a 24 to 48 hour hold on withdrawals after you add a new address. Check this before the day you want to move funds.
- A small test amount in mind. You’ll send this first (more on that below).
Choosing the right network
This is the most common way people lose funds. Many coins exist on several networks: USDC, for example, runs on Ethereum, Polygon, Arbitrum, Base and others. The network you pick on the exchange must match the network of the receiving address in your Tangem app. Send USDC over the wrong network to an address that doesn’t support it and the funds may be unrecoverable.
A simple habit helps. In the Tangem app, add the specific token on the specific network first, and the app will show you a receive address that matches it. Copy that one, never an address you saved months ago.
How to transfer crypto from an exchange to a cold wallet, step by step
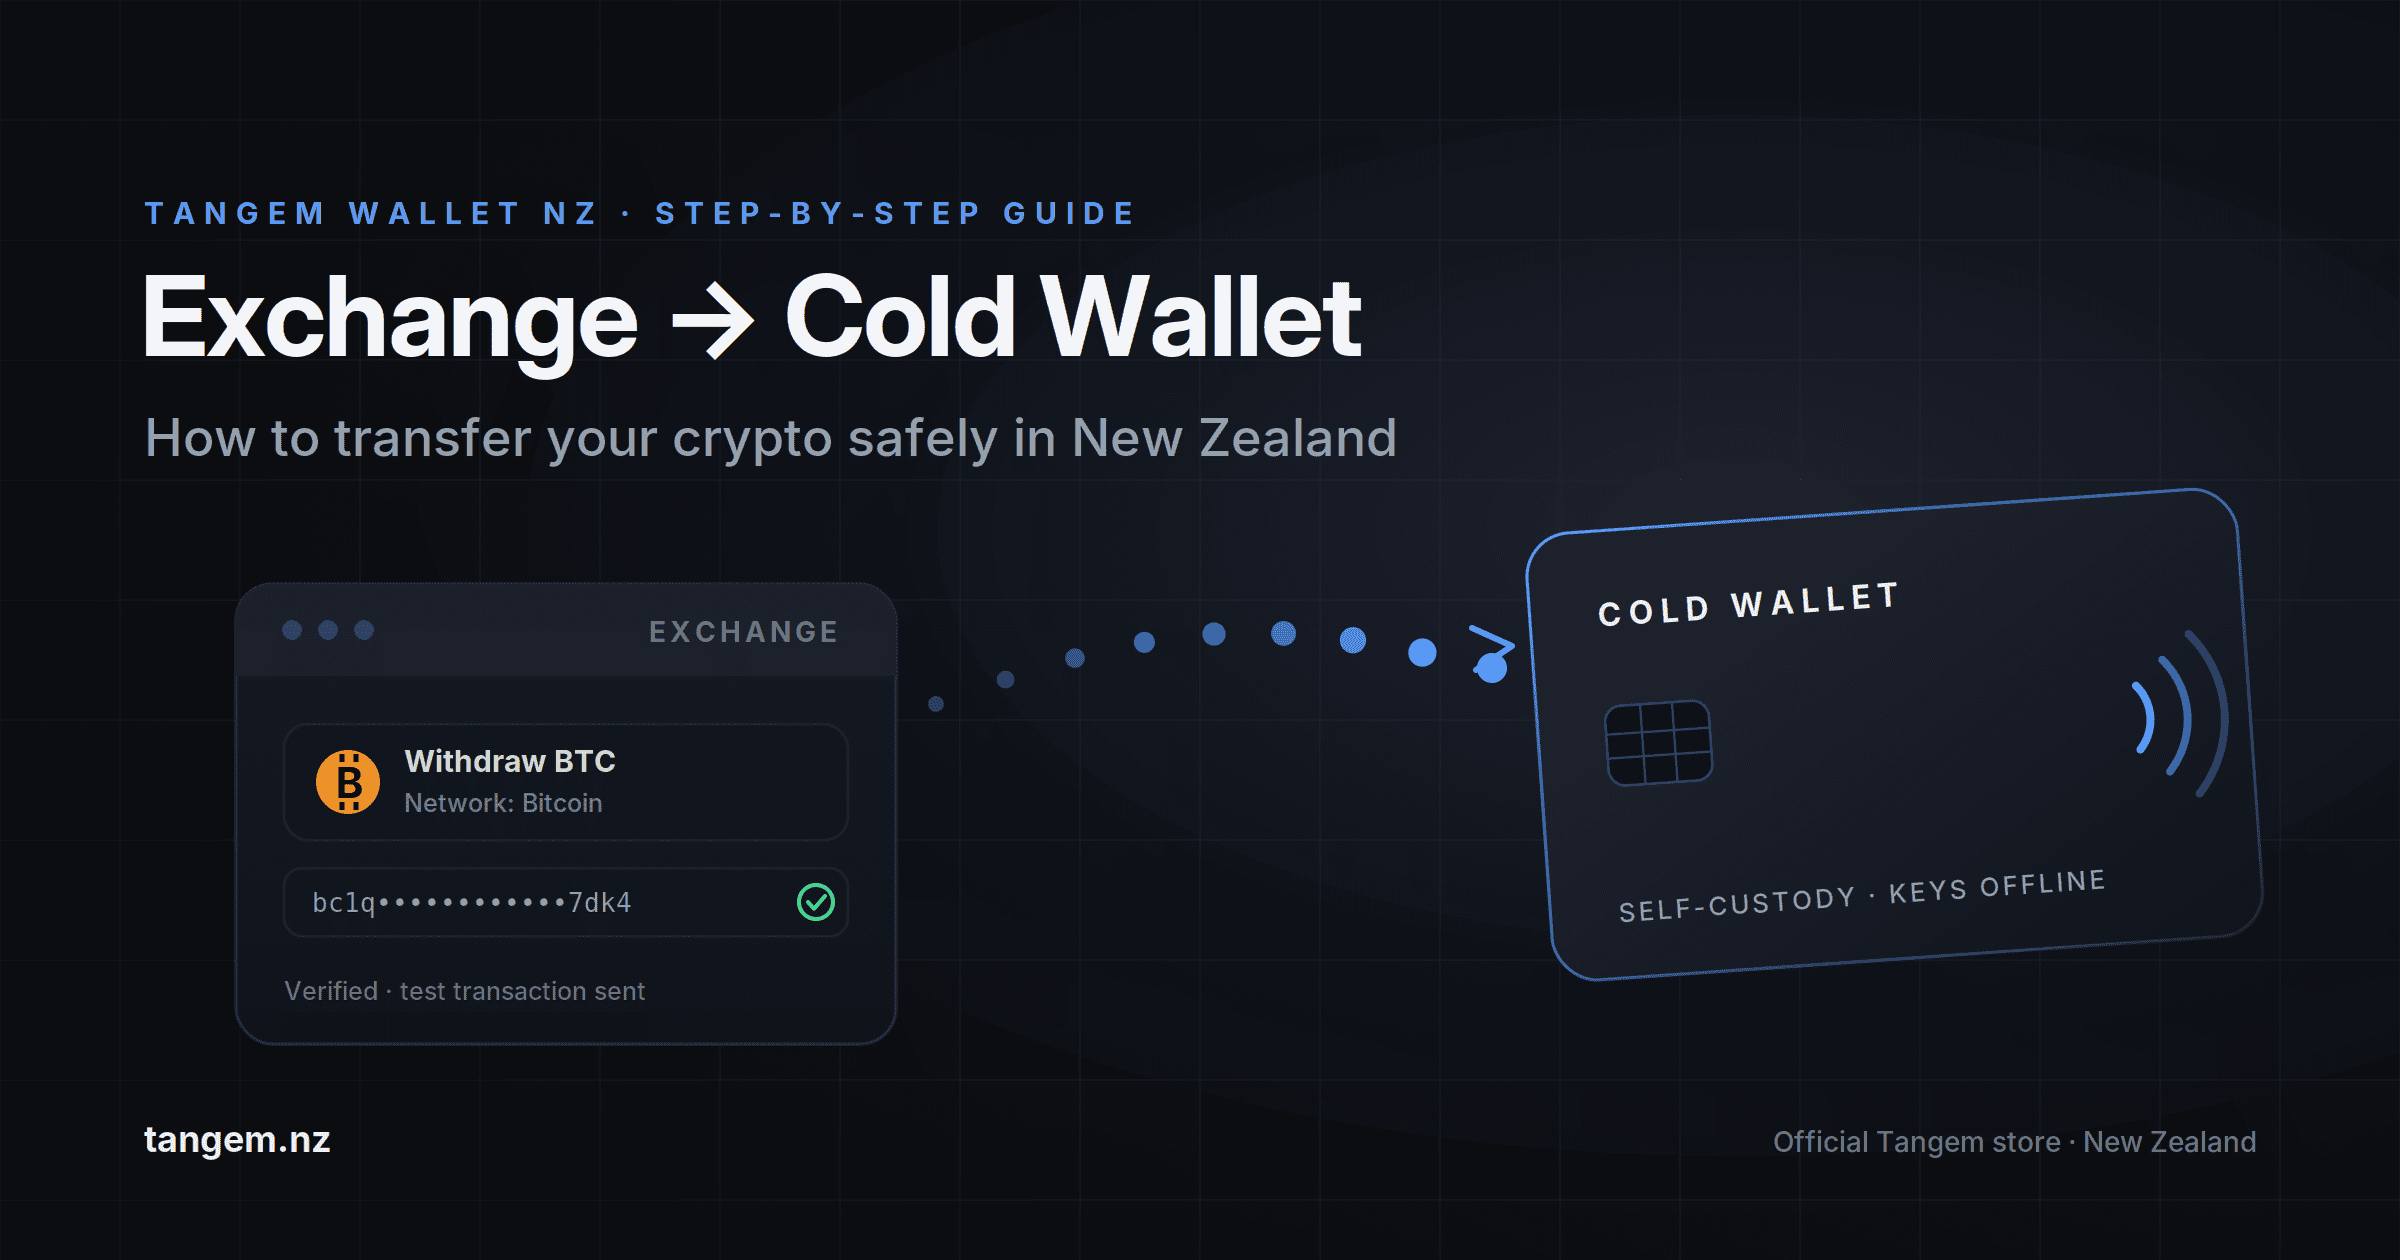
There are six steps: get your receive address in the Tangem app, start a withdrawal on the exchange, paste and check the address, send a small test amount, confirm it arrives, then send the rest. Allow 10 to 30 minutes from start to finish.
- Get your receive address. Open the Tangem app, tap the asset (for example Bitcoin), tap Receive and copy the address. For tokens, double-check the network label shown with it.
- Start the withdrawal on your exchange. Find Withdraw (sometimes under Wallet, then Fiat and Spot, then Withdraw), choose the same asset and paste your Tangem address.
- Check the address properly. Compare the first 6 and last 6 characters against the app. Clipboard malware that swaps addresses is a real attack, which is why you compare rather than trust the paste.
- Send a test transaction. Withdraw a small amount first, enough to see but small enough that losing it wouldn’t hurt. Yes, you pay the network fee twice. Treat that fee as insurance.
- Confirm it arrived. Watch for the balance in your Tangem app. Bitcoin can take 10 to 60 minutes for full confirmation, and most other networks are quicker. Once the test lands, you know the whole route works.
- Send the rest. Repeat the withdrawal for the full amount, to the same verified address.
Notes for common NZ platforms
Fees and rules differ a little depending on where you buy.
- Easy Crypto is a broker rather than a custodial exchange. When you buy, you give it a wallet address up front and the coins go straight there. If you’re buying fresh, you can skip the exchange step entirely by entering your Tangem receive address at checkout.
- Binance and similar global exchanges hold your balance until you withdraw it. Watch the network selector closely. Binance offers many networks per token, and the default isn’t always the one you want.
- On any platform, withdrawal fees are set by the platform and vary by network. Withdrawing a token on a low-fee network (if your wallet supports it) is often far cheaper than using Ethereum mainnet.
Withdrawal fees and timing in NZ
Budget for two costs: the exchange’s withdrawal fee (fixed by the platform) and the network fee (which moves with blockchain congestion). Neither depends on how much you send, so one or two larger transfers work out cheaper than lots of small ones.
What to expect on each network:
| Network | Typical confirmation time | Fee level | Watch out for |
|---|---|---|---|
| Bitcoin | 10 to 60 min | Moderate, varies with congestion | Slow during fee spikes, so be patient |
| Ethereum | 1 to 5 min | Highest of the group | Gas spikes can make small transfers uneconomic |
| Polygon | Under 1 min | Very low | Confirm your token is the Polygon version |
| Arbitrum / Base | 1 to 2 min | Low | Newer networks, so check Tangem app support for the token first |
| Solana | Seconds | Very low | Address format is completely different from EVM chains |
Exchange fees change often enough that we won’t print numbers here. The withdrawal screen shows the exact fee before you confirm.
Common mistakes that cost people their crypto
Most self-custody horror stories come down to one of these four errors, and the routine above avoids all of them. None can be undone once you press send, because blockchains have no chargebacks.
- Skipping the test transaction. Saving $5 in network fees while risking your whole balance is bad maths.
- Checking only part of the address. Address-poisoning scams create lookalike addresses with matching first characters, so check the ending too.
- Missing a memo or tag. Some assets (XRP, XLM, some exchange deposits) need a destination tag. Withdrawals from an exchange to Tangem usually don’t, but read any warning the exchange shows.
- Typing an address by hand. Don’t. Copy, paste and check, or scan the QR code from the Tangem app.
After the transfer
Once the balance shows in your Tangem app, do three more things: confirm the transaction on a block explorer, check your backup cards still open the wallet, and keep those cards in separate places. It takes about ten minutes.
A block explorer (the app links to one from the transaction details) shows your transfer confirmed on-chain, which is proof that doesn’t depend on any app or company. Then tap each backup card once so you know they all work. Because Tangem clones keys across cards at the chip level instead of relying on a written seed phrase, your backups are the physical cards. Treat them like house keys: one at home, one somewhere else you trust.
How self-custody compares with leaving funds on the exchange:
| Cold wallet (Tangem) | Exchange account | |
|---|---|---|
| Who holds the keys | You | The exchange |
| Hack exposure | Your own security habits | The whole platform’s attack surface |
| Insolvency risk | None | You become a creditor |
| Convenience for trading | Lower, you transfer back first | Instant |
| Cost | One-off hardware purchase | Free to hold, fees to trade |
The honest trade-off is that self-custody makes you responsible. Card-based backups with an optional seed phrase make that responsibility lighter than it used to be, but it is still yours, and for most holders that’s the point.
FAQs
Is it safe to transfer crypto to a Tangem Wallet? Yes. A transfer to a Tangem address works like any other blockchain transaction. With the standard card setup, the private key was generated on the card’s EAL6+ certified chip and never leaves it. The safety of the transfer itself comes down to checking the address and network, which is what the test transaction is for.
How long does a crypto withdrawal take in NZ? Usually minutes once the exchange releases it. Bitcoin can take 10 to 60 minutes to confirm, while networks like Polygon or Solana settle in seconds. Exchange-side processing (especially for new withdrawal addresses or large amounts) can add anything from minutes to 48 hours.
Do I pay tax when I move crypto to my own wallet? Moving crypto between accounts and wallets you own is generally not a taxable disposal under IRD guidance, because you haven’t sold or exchanged anything. Keep records of the transfer anyway and confirm your situation with a tax professional, as this isn’t tax advice. The detailed rules are in the Inland Revenue guidance on cryptoassets.
What happens if I send crypto to the wrong network? Sometimes it can be recovered (if you control the receiving keys on that network), but often it can’t. Recovery is technical at best and impossible at worst. Matching networks and sending a test amount first is the only reliable protection.
How much crypto should I keep on an exchange? Only what you’re actively trading or about to sell. A useful test: if you’d be upset to lose it in an exchange failure, it belongs in cold storage.
Do I need a seed phrase to receive crypto on Tangem? No. Tangem generates and stores keys on the card chip, and your backup cards hold copies of the same key. A seed phrase is optional. Here’s how the two approaches compare.
Buy a Tangem 2-card or 3-card set from Tangem NZ, an authorised New Zealand seller with local stock shipped from Auckland and prices in NZD including GST. Wherever you buy, make sure it’s from a trusted source, to avoid tampered devices.